
Your Minecraft server feels a bit too “vanilla” for your taste? Datapacks are the perfect middle ground: they can add new mechanics, tweak loot, or even overhaul world generation without installing mods.
In this 2026 guide, you’ll learn how to install a datapack on your server, where to upload it, and how to confirm it’s actually enabled. We’ll also cover the one big “gotcha” with world-generation datapacks, so you don’t wonder why nothing changed.
Get the right datapack version
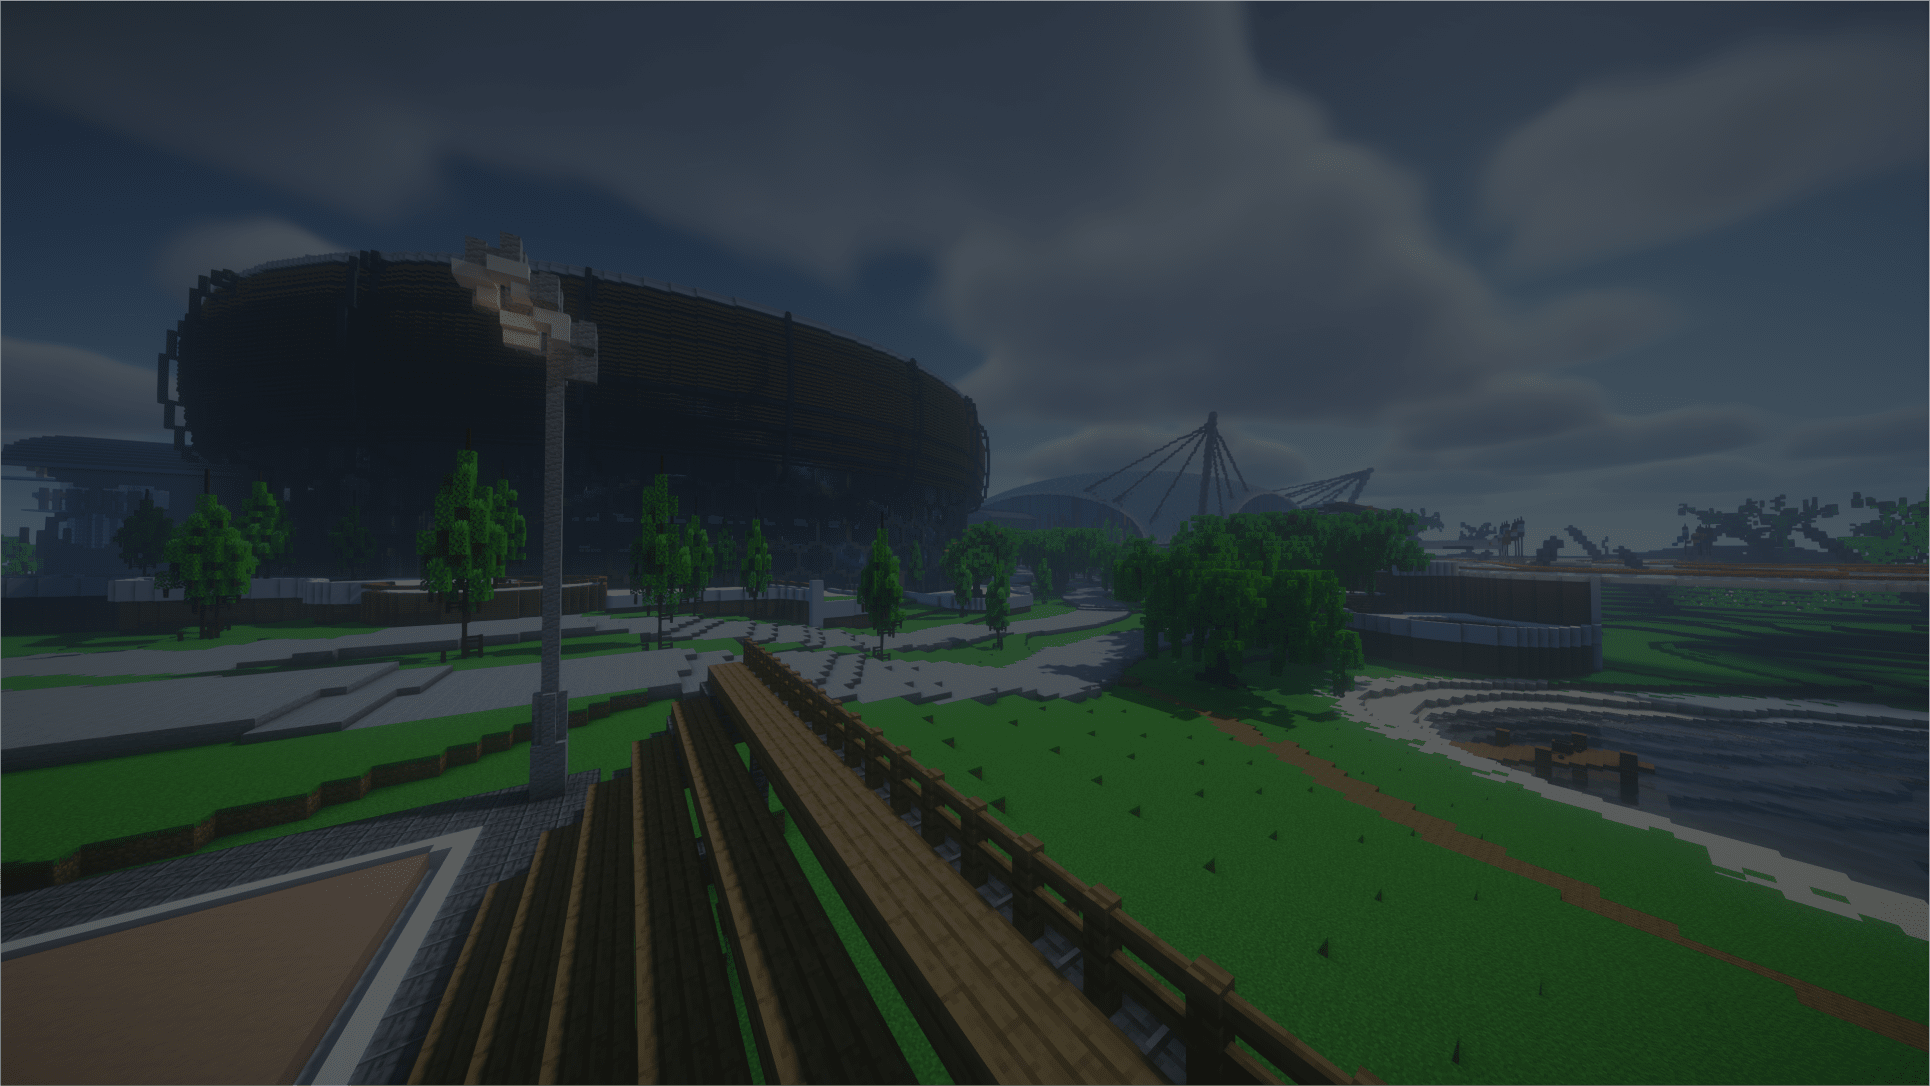
Start by downloading the datapack you want to use. In this example, we’ll use Terralith, a popular world-generation datapack that improves Minecraft’s default terrain and adds lots of new biomes.
You can download it from Modrinth: https://modrinth.com/datapack/terralith. Make sure you keep it as a .zip file and double-check the datapack version matches your server version.
📝 Note: If the datapack is made for a different Minecraft version, it may fail to load or behave in weird ways.
Upload the datapack to your server world
Next, you need to place the datapack in your server’s world folder. On MineStrator, you can access your files from the Files tab in your panel.
Open the world folder (or the folder named after your current map), then open datapacks. Drag and drop your datapack .zip into that folder and wait for the upload to finish.
💡 Tip: If you don’t see a
datapacksfolder, you can create it manually inside your world folder.
Enable the datapack and confirm it works
Once the file is uploaded, restart your server so Minecraft loads the datapack properly. After the restart, you can verify it’s active with the command below.
/datapack listIf you need to manage it later, you can disable or enable datapacks in-game with these commands:
/datapack disable/datapack enable/datapack list
Avoid the classic world-gen datapack trap
Using a world-generation datapack like Terralith? Keep in mind it only affects new chunks. Any area your players already explored won’t magically regenerate, so changes will appear only when you travel into fresh, unexplored terrain.
If you want a brand-new world generated with the datapack from the start, create your new world folder, create a datapacks folder inside it, then upload the datapack there. Start the server using the map named after the folder you created.
⚠️ Warning: Switching world-generation datapacks mid-season can create ugly borders between old and new terrain. Consider starting a fresh map.
Questions fréquentes
Do I need mods or Forge/Fabric for datapacks?
No. Datapacks are a vanilla Minecraft feature. As long as your server supports vanilla datapacks, you can install them by placing the .zip in your world’s datapacks folder.
Can I install multiple datapacks at once?
Yes. You can upload several .zip files into the same datapacks folder. Just keep an eye on compatibility, because some datapacks can conflict if they edit the same features.
Why doesn’t my world look different after installing Terralith?
Because world-generation datapacks only apply to chunks that haven’t been generated yet. Explore new areas or generate a fresh map to see the changes.
Conclusion
You now know how to install a datapack on your Minecraft server, where to upload it, and how to confirm it’s enabled with /datapack list. If you’re using world-gen datapacks, remember: new chunks only.
Need help troubleshooting or want a clean setup fast? Check the FAQ or reach out via Support to get your server running smoothly.

 Enjoy 10% off your first month of server with MineStrator using the code ACTU10!