An ARK cluster allows you to connect multiple servers together, giving players the ability to travel between different maps with their characters and items. This feature is ideal for creating an extended and varied gaming experience.
Step 1: Create Your ARK Servers
Resource Distribution
Our MyBox allows you to create multiple ARK servers (pods) within a single package by distributing available resources.
- Access your MyBox management area on the panel
- Create your first ARK server with the map of your choice (e.g., The Island)
- Create your additional servers (e.g., Ragnarok, Aberration, etc.)
- Adjust resource distribution according to your needs
Tip: Distribute RAM and CPU evenly between your servers. You can then see from usage if certain servers need more resources - you can always modify this later!
Step 2: Create the Cluster
Main Cluster Configuration
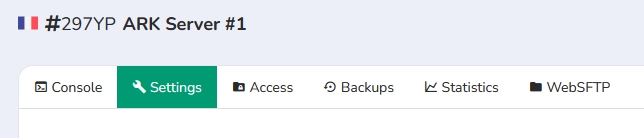
- Access one of your ARK servers
- Click on the "Settings" tab
- Scroll down to the "ARK Cluster Creation" section
- Enter a name for your cluster in the "Cluster Name" field
For the cluster name, choose a descriptive name that helps you identify it. This name can be changed at any time without affecting the connection to other servers.
- Click the "Create a cluster" button

- Your cluster will appear in the list below with its name and available actions

Important: Once created, the cluster will be accessible on all your ARK servers and can be used to link any of your servers.
Step 3: Connect Servers to the Cluster
Linking Servers to the Cluster
You must repeat this step on all servers that need to be linked to the cluster.
- On the server's Settings page, locate your cluster in the list
- Click "Link to the cluster" to connect this server to the cluster

- Restart the server for the changes to take effect
Step 4: Advanced Configuration
Inter-Regional Clusters
Our infrastructure allows creating clusters between France and US servers, providing easy deployment for international communities.
To connect servers from different regions, you can follow the same instructions as in Step 3 - no special configuration is required.
Managing Multiple Clusters
You can create multiple independent clusters:
- PvP Cluster: For combat-oriented servers
- PvE Cluster: For exploration and cooperation
- Event Cluster: For temporary maps
Important: A server can only belong to one cluster at a time.
Step 5: Testing
Verifying Functionality
- Connect to your first server
- Create a character and collect some items
- Go to an obelisk
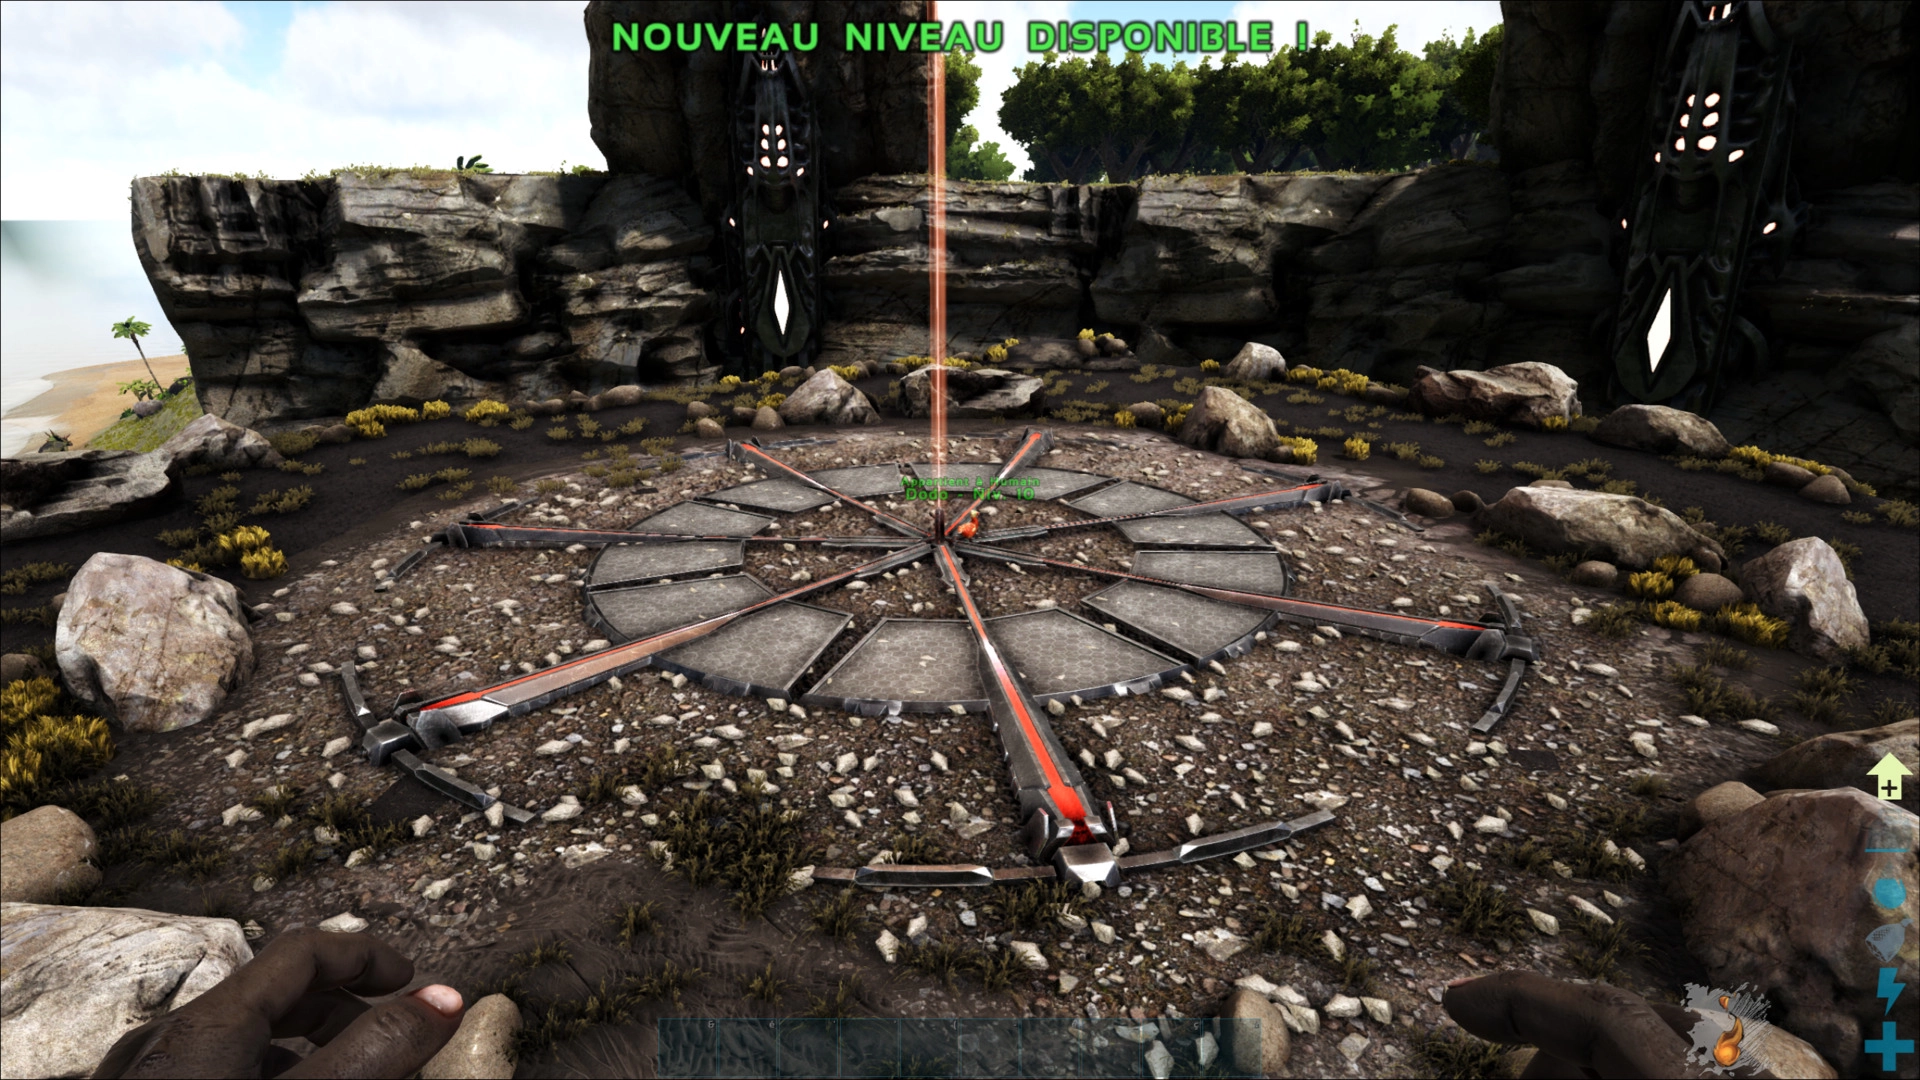
- Once the obelisk interface is open, you have several options:
- "Transfer To" to transfer your character to another server
- Transfer a creature that is in the obelisk area using the "Upload Creature" button
- On another server in the cluster, you can then retrieve your creature by going to the obelisk from the "Creature List"
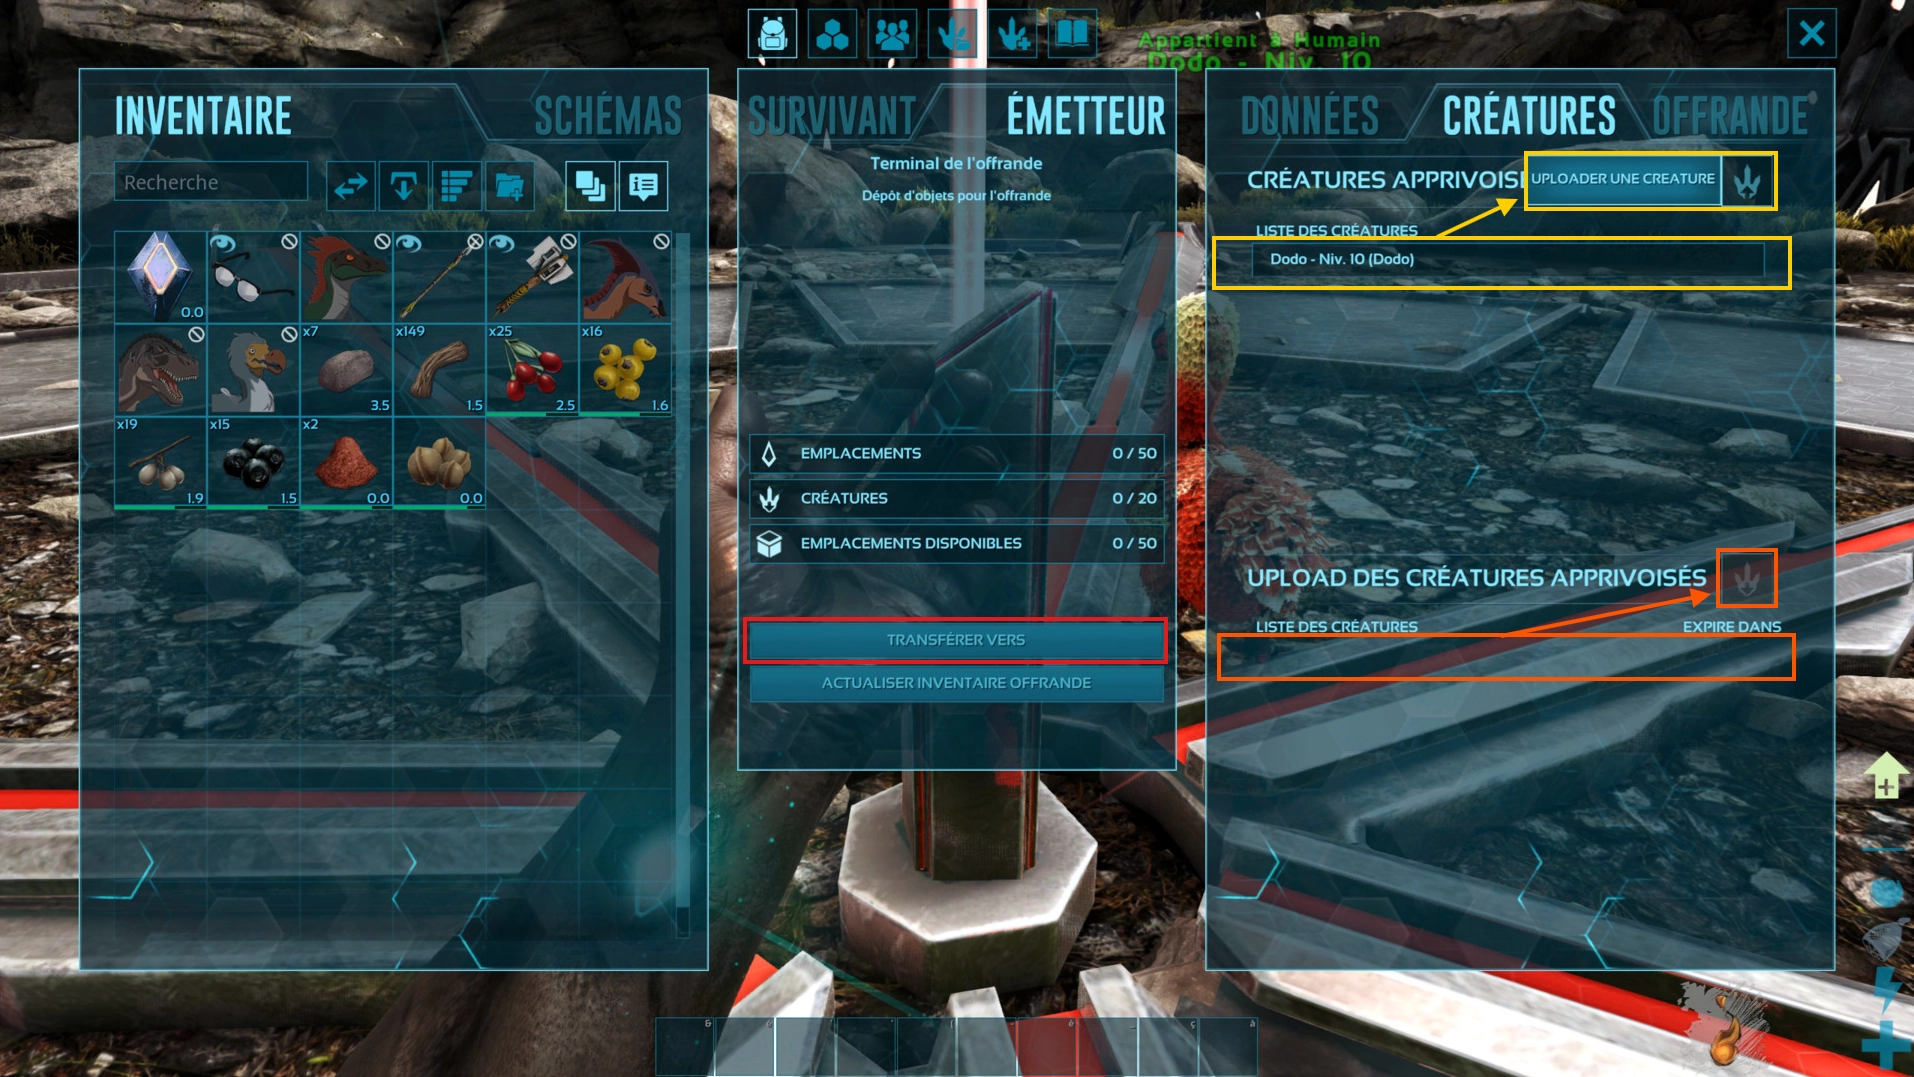
- After clicking "Transfer To", you'll see the list of servers linked to the cluster
- Choose your destination server from the list and click Join
- Verify that the transfer works correctly - you shouldn't need to recreate a character and you should have your items
This guide is complete. For any questions or technical issues, feel free to join our Discord or reach us with a ticket!