 MineStrator
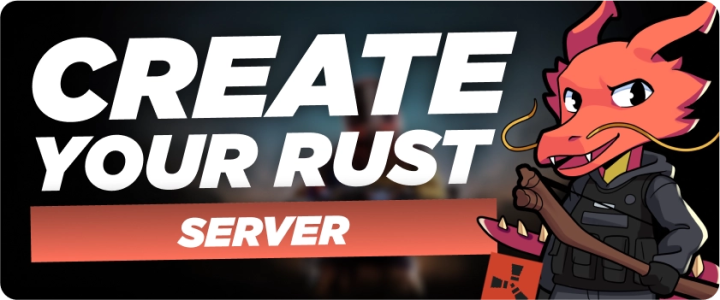
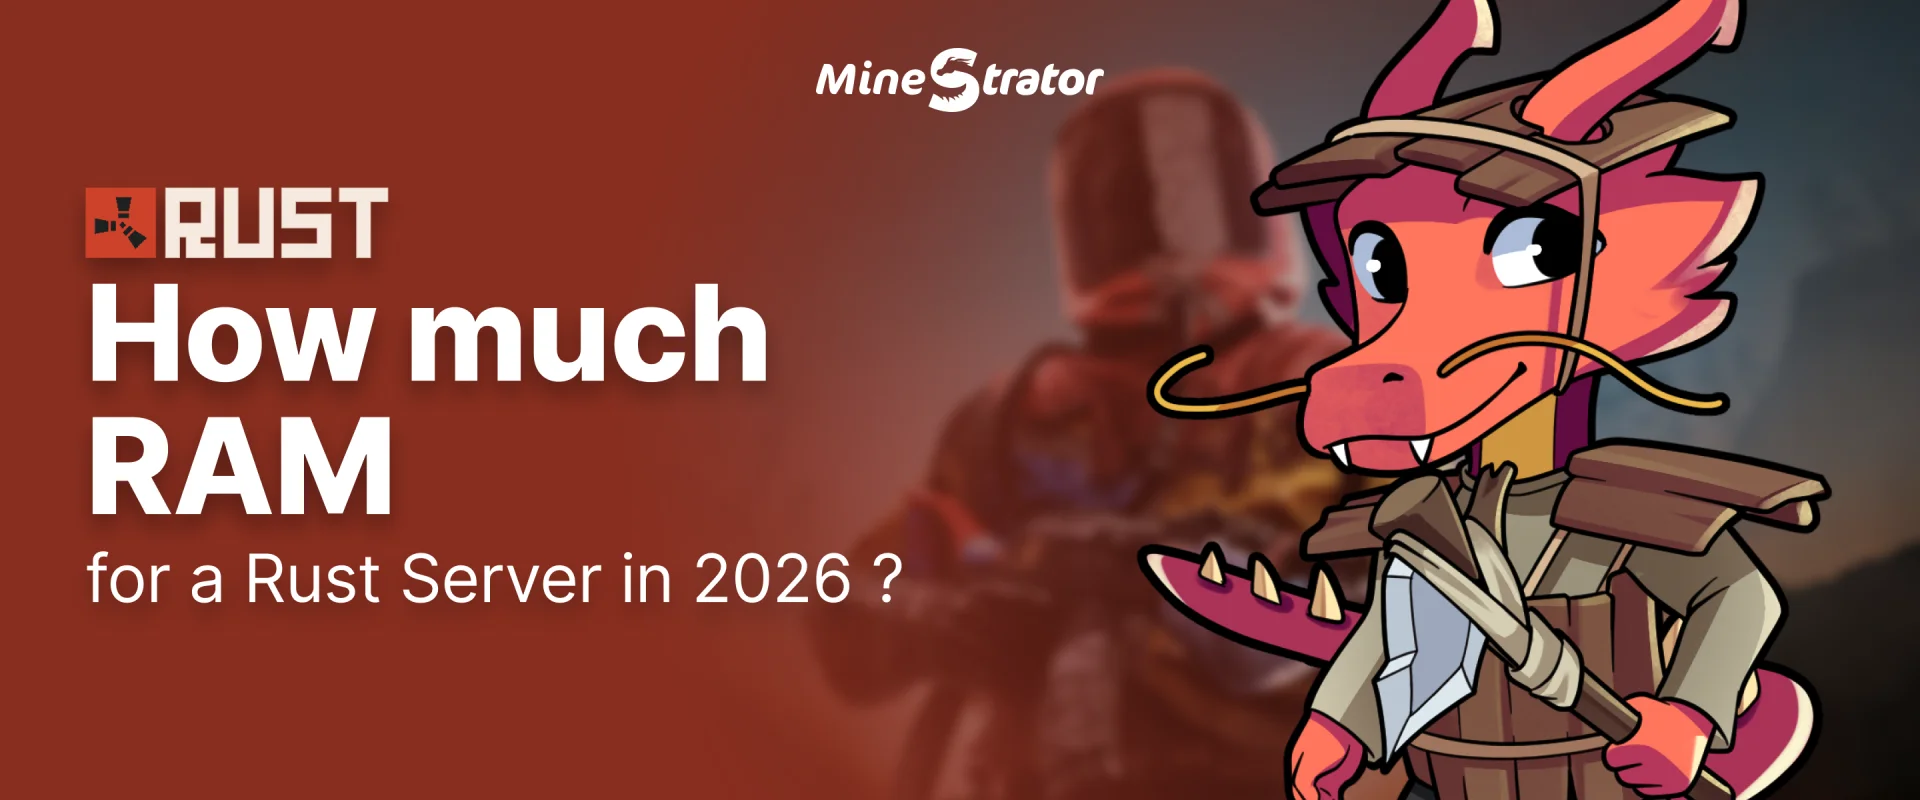
Want to launch a Rust server in 2026 to play with friends, build a real community, or stop relying on someone else’s wipes and rules? Good news: with MineStrator, you can get it online in minutes, without the usual setup headache.
In this tutorial, you’ll learn how to pick the right plan for Rust, create your server from MineBoard, choose the best location for low ping, and grab the IP to connect. Grab your rock and torch, let’s get your server ready.
Choose the right Rust server plan
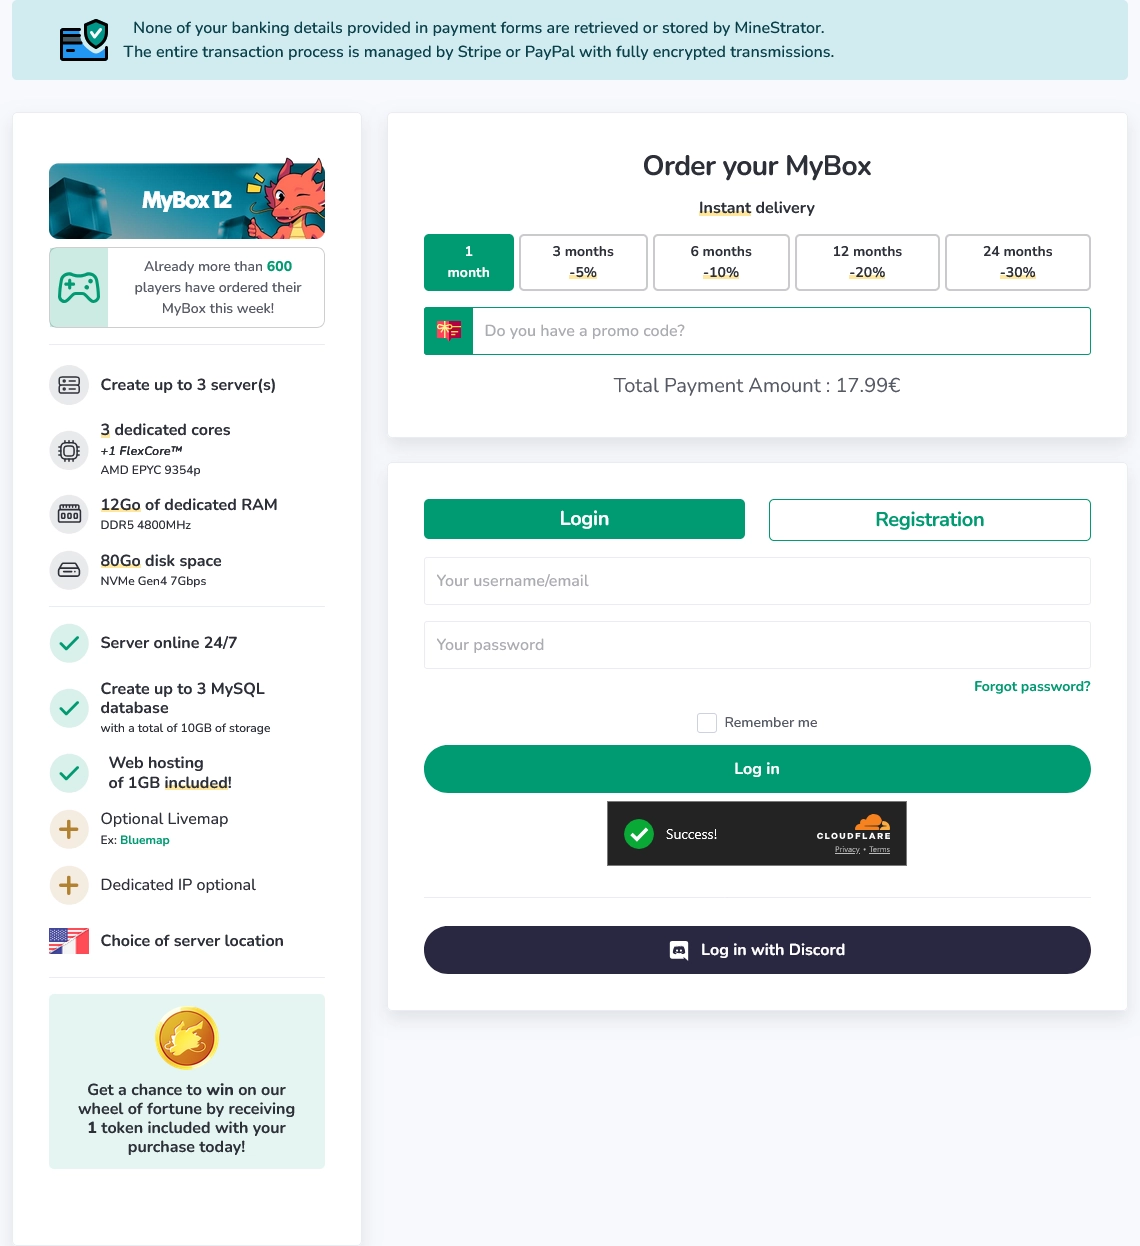
A Rust server is demanding: the more players, bases, raids, and monuments get farmed, the harder your machine has to work. To start strong, pick a MyBox sized for your player count, wipe style, and whether you plan to run mods/plugins.
Here are simple benchmarks to avoid a server that starts coughing at the first raid:
Minimum: 3 dedicated cores, 12 GB RAM
Recommended: 4 dedicated cores, 16 GB RAM
Plan extra: very active maps
Main goal: stable PvP and raids
📝 Note: If your map is very active (big builds, constant PvP, heavily farmed monuments), the recommended setup prevents most micro-stutters.
Once you’ve chosen your plan, log in to your MineStrator account (or create one), then complete your order. After that, you’ll be able to create your server directly from your dashboard.
Create your Rust server from MineBoard
After purchase, open your MineBoard. Click Create a server, then select your MyBox to launch the wizard. The installation is automated: you choose the options, MineStrator deploys the server.

Follow these steps to create your Rust server:
Search for Rust in the game list, then select the certified version with its illustration.
Pick the location closest to most of your players, then click Next. In Rust, good routing often decides whether a gunfight feels clean or like everyone is teleporting.
Check the summary (game, resources, location), then click Create the server. The installation starts automatically.
When it’s ready, click Manage the server to access the panel (start, configuration, admin tools).
⚠️ Warning: Don’t pick a location “at random”. In Rust, latency quickly impacts PvP hit-reg and raid timings.
Here’s what the creation flow looks like in MineBoard:
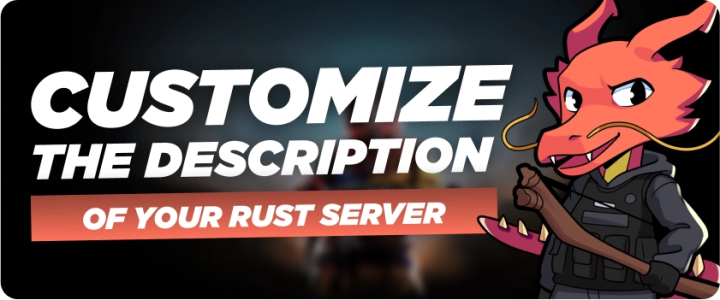
Customize your server
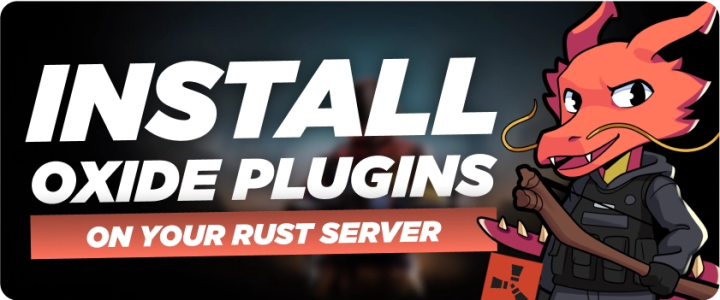
If you want a modded experience, advanced admin tools, or quality-of-life features, plugins are usually the next step. They’re also great for building a server identity that players recognize after every wipe.
For Rust plugin setup and server presentation, check these guides:
🚨 Important: Always backup your server before installing or updating plugins, especially right before a wipe.
Conclusion
Your Rust server is now created and ready for players. All that’s left is to grab the IP from the panel, set your rules, and start your first session (yes, you can finally go farm scrap in peace).
Don’t have a server yet? Explore our Rust hosting offers and get online quickly. If you get stuck on a setting, reach out via Support, we’ll help you get your base back on its foundations.